
This week is ending on a good note.
My sweet little grandson had a serious
surgery on Monday.
God brought him through it wonderfully!
Recovery will take some time of course, and we all feel so blessed :)
There has been a lot of spoiling going on this week. I really wanted to make something that I knew he would love.
It had to be something Mickey Mouse.
He LOVES Mickey.
Way back in the fall we surprised our
grandbabies with a Disney trip!
The countdown and excitement began.
Then we found out about the surgery.
It will still be several days until we know if the doctor will give us
the go-ahead..and so the waiting continues.
Either way, this blessed Grandma is happy that her grandson is healthier now :)
~~~~~~~~~~~~~~~~~~~~~~~~~~~
Mickey Time..I googled Mickey Mouse.. ..Mickey cookies, cupcakes etc.
It is amazing how much inspiration you can find on-line :o)
In the end, I came up with these when I saw the adorable Disney's Mickey Mouse Caramel Apples on The Disney Food Blog.
It still amazes me how few ingredients you need to make your very own marshmallows.
I have tried a couple different recipes, and as I wanted a firmer marshmallow so i could easily hand dip these..I used this one. Great Recipe!
The only item you may not readily have on hand is the unflavored gelatin. If you've never made your own marshmallows, you may want to buy several boxes..because you're gonna want to make MORE!

Mixing the water and vanilla with the gelatin.

.....

It does have an "applesauce" look once you've stirred them together.

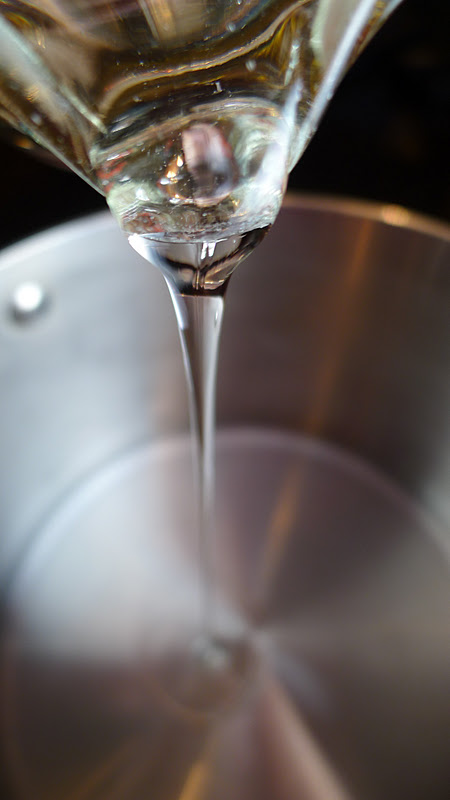
I use Karo syrup..
Sugar & Salt..

I love my flat paddle candy stirrer..

Every time I make these, I just know they're going to burn. (My first 2 attempts were horrible failures due to a bad thermometer)
If you have a good thermometer this only LOOKS scary! If you're not sure about yours, try this test.

Boiling..

They say a watched pot never boils..
this one will!

We've reached 250.

You have to be careful here as this is some hot stuff!
It's not really that difficult..unless you're trying to take photos at the same time ;)

Set your timer as it will take several minutes to "fluff up"


Yay! It's beginning to look like marshmallows!
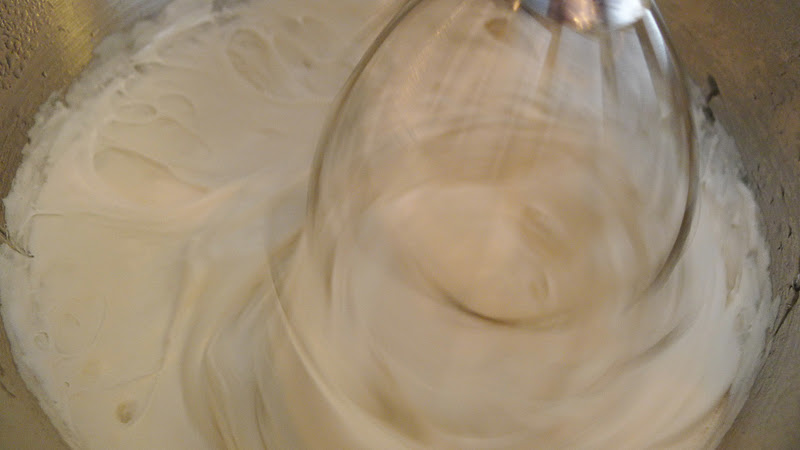
This stuff is seriously sticky..so you won't be able to get all of it into your dish..but you can lick the bowl :)

Ahhhh!

After you've poured the candy into your prepared dish, (lightly sprayed with Pam) let it set several hours. I let mine set overnight with a sheet of parchment paper laid on top of dish (not touching candy).

The next morning it easily peels right up :o)

Flip the candy top side down onto your equal parts cornstarch & confectioners sugar mix.


Use any shape cookie cutter for your candy. Dip it into the cornstarch mix before cutting.
If you don't need shapes, just use a pizza cutter to make squares.

I used Jelly Belly beans and red sugar to decorate.

I used Wilton light cocoa candy melts to dip one side of the Mickeys.

Sprinkle your sugar..

and place your jelly beans..

so cute!

I didn't have enough yellow "buttons"..
so I had to use some red ones. I think they're still cute..don't you?


I made some little labels on Picnik to make a "feel better quick" package. I just made the design and printed them out at the 3x4 size. Sorry I don't have a download..I still have a lot to learn!

Blessed & Happy Baking
from
Sugartown Sweets!
I love all your comments
& read every one!


