Friday, May 4, 2012

Happy Mother's Day Candy Tray!


Happy Mother's Day Candy Tray!
Beautifully easy melted Starlight mint tray. 
When I saw a Christmas candy tray on Tutto Bella's blog, I thought it was just beautiful!
I've been wanting to make one myself, and today, I finally did! These are so much fun!
My first design included the letters M-O-M, but that didn't work so well. So, I made a separate candy cut-out piece to place on the tray. And since I'm having so much fun in the kitchen, I'm making a candy bowl too!
Wishing all the Moms out there a
 Blessed Happy Mother's Day. :o)
~~~~~~~~~~~~~~~~~~~~~~~~~~~~~~~~~~~~~~
I am using my Wilton flower pan to make a template for my tray.
 I just traced around the bottom of my pan onto a sheet of parchment paper.
 Unwrap a LOT of candies. I used fruit flavored Starlight mints.
~~~~~~~~~~~~~~~~~~~~~~~~~~~~
 My first design..not loving it. It may also be the colors.
 Yeah..I don't love it.
These orange & red colors looked so good together...
   ..I'm going with those. I like this one better..
Bake @ 325 for 8-10 minutes.
 Yes! This is it!
love this....
Now for the MOM candy piece.
 Place a few candies on a parchment lined baking sheet. Bake on 325 degrees for 7-10 minutes.
 As soon as you remove the pan from the oven, press your cookie cutter
 (sprayed with non-stick spray)
into the candy. Let it cool a few minutes. Gently press cutter through and lift out the finished piece.
 Sweet MOM :o)
 Now, let's make a candy bowl. Place a   
sheet of parchment paper cut a little larger than your completed candy design. Bake on 325 degrees for 7-10 minutes. 
 Immediately upon removing pan from oven, lay the entire candy piece
 (parchment paper side down) 
on your choice of shaped dish. I used a small metal bowl.
 It's not perfect..but afterwards I thought, if you used a large round cutter before forming the bowl, it would be! Next time I'll try that for sure!
*Handle All These Pieces Very Gently*
 ~~~~~~~~~~~~~~~~~~~~~~~~~~~~~~~~~~~
Happy Baking
& Creating
from
Sugartown Sweets!
 Thank you so much for stopping by my blog today!
Comments are always
 welcome & read!

Monday, April 30, 2012

Cotton Candy White Chocolate Rice Krispie Treats On A Stick!

~Cotton Candy~White Chocolate~
Rice Krispie Treats
On A Stick!
------------------------------------------------------
Happy Monday Everybody!
I was looking forward to making and posting these this morning. Last Thursday night, I was on the Duncan Hines website. I saw they were hosting a recipe challenge using their new "Frosting Creations Flavor Mix". I knew right away what I would make. But..I had a busy and enjoyable weekend planned with my family and church. So, I would not make the deadline for the contest. Well, this morning I went back to the Duncan Hines site..and there it was..someone had made Cotton Candy Treats. I thought, should I go ahead and make them and just not post them. (I had already told my grandkids I would be making them, and from their excitement I knew it was a good idea) But after seeing our recipes were different, I decided to post it. And..I must say, I like these! 
____________________________________
I used the Wal-mart Brand cereal & marshmallows.
 I bought 3 packets but ended up using only
 1 for this recipe.
 Melt 4 tablespoons butter on low heat.
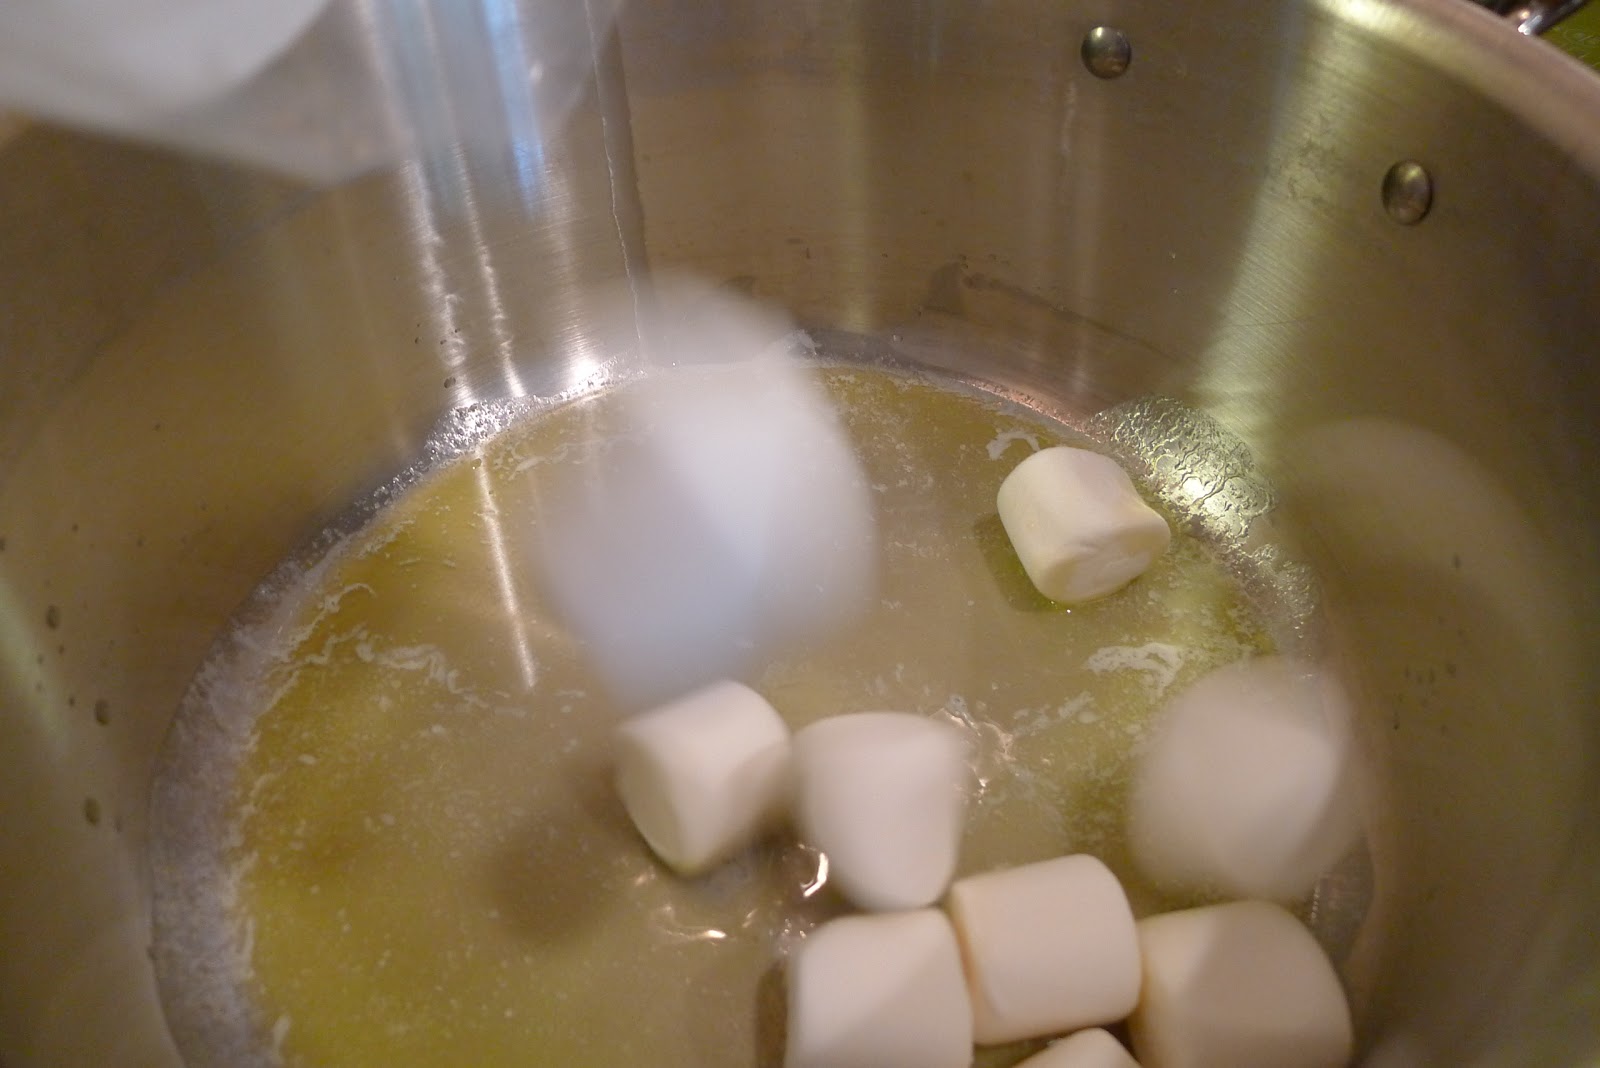
 Add a 10 oz. bag of marshmallows..
 ...stirring to melt. When marshmallows are partially melted, stir in the flavor packet. When fully mixed, remove from heat.
 Stir in 6 cups Rice Krispies
 and 1 cup white chocolate chips.
 Press mixture in a pan prepared with non-stick spray. Mine was slightly larger than a 13x9 inch. It's easier if you also spray your hands with the non-stick spray as this stuff can get pretty sticky.
 I really enjoyed licking the bowl! I love warm Rice Krispie Treats and with the white chocolate chips, this was extra yummy!
 I am also dipping these. I used Ghirardelli White Chocolate and the remaining Hershey's chips.
 *******************************************
 I also swirled the treats with the white chocolate & sprinkled them with blue sparking sugar.
Cut~Dip~Swirl~Sprinkle
now....Eat!
Cotton Candy White Chocolate
 Rice Krispie Treats
6 cups Rice Krispies cereal
4 tablespoons butter
1o ounce bag marshmallows
1 cup white chocolate chips
1 packet Duncan Hines Frosting Creations Cotton Candy flavor mix
Melt butter on low heat, stir in marshmallows. When partially melted, stir in flavor packet. Remove from heat. 
Mix in cereal & chocolate chips.
Press into pan prepared with non-stick spray. 
Cool~Cut~Dip~Swirl~Sprinkle~Eat!
*i tinted my white chocolate with
 Wilton sky blue icing color*
Sweet & Happy Baking
from 
Sugartown Sweets!
Thank you for stopping by my blog today! :o)

Friday, April 27, 2012

Lifesavers Bubblegum & Tootsie Roll Pops!

Today we're crafting with Lifesavers..
wheeee!
.........................................
First, we have these bubblegum & Tootsie Roll
filled lollipops..
..next, it's Flower Pops~Tootsie Roll Filled!
 I bought this huge bag of Lifesavers
 @ Wal-mart for $6.98..not a lot for all the 
fun I can have with these!
So many sugary options with which to fill your pops & candies! Almost any chewy candy would work. Hmmm..need to find some caramels..
Here's the star of the show..Lifesavers!
 To make the gum filled pops, I tried the old timey wrapped bubble gum, but it was just a bit too hard to insert the lollipop sticks, so I used this Hubba Bubba gum..so much softer & easier. I'm using the  "Mystery" flavor.
 You will need lollipop sticks...
..and non-stick spray. You will also need a mold for your pops. I used my Wilton Brownie Pop (silicone) mold pan. I would have loved to use real lollipop molds..but, i don't own any and didn't want to wait to make these till I had some! 
..candy wheel..
 I melted 8 Lifesavers in each mold..I think next time I'll try 9 or 10.
 Melt @ 300 degrees for 20-22 minutes.
 ...................................................
 Immediately press your candy tipped lollipop sticks into the melted Lifesavers. You can cover the pan with tin-foil making holes for the lollipop sticks. I did this with my first batch. I didn't with the second pan, I just straightened the sticks a couple of times as the candy gets thick fairly quickly. Cool for about 20 minutes. Then pressing from the bottom of the molds, they will pop right out. 
Okay..so I'm Laughing Out Loud 
@ these silly looking pops. 
I grew up in the "Weebles wobble, but they don't fall down" generation & these certainly fit that bill..*giggle giggle*.
So now I'm making the familiar "funny flower"
shape with the fondant cutters.
Place the Lifesavers on a parchment lined cookie sheet. Bake for 10 minutes @ 300 degrees.
Upon removing baking sheet from oven, immediately press cutters into candy.*edit. Prepare the cutters with non-stick spray.* Next, place candy center in one flower pressing gently. Let cool for 2-3 minutes..until just cool enough to handle.
 No pics of the orange at this stage so we'll use the purple candy pics. Pick up the candy piece, and pressing the cutter completely through, 
release the flower.
Place one flower face side down. Press the
 Tootsie Roll tipped stick onto the candy. Now just place the other flower with the candy center
 face side up (pressing gently) onto the Tootsie Roll!
Pretty little candy flowers. :o)
Now..just for fun, melt 6 Lifesavers on a
 parchment lined baking sheet for 10 minutes
 in a 300 degree oven.
 Upon removing pan from oven, place a Tootsie Roll in the center of candy. Let cool for a couple of minutes. Candy will still be pretty warm as you begin rolling the candy "jelly roll style" till it starts to release from the paper. Pinch the ends together to resemble paper wrapped hard candies. Use a very sharp knife to trim off the still warm ends. 
 Voila..i think it's kinda cute. :o)
All done! 
 Sweet & Happy Creating
from
Sugartown Sweets!
Thank You
 for stopping by my blog today!