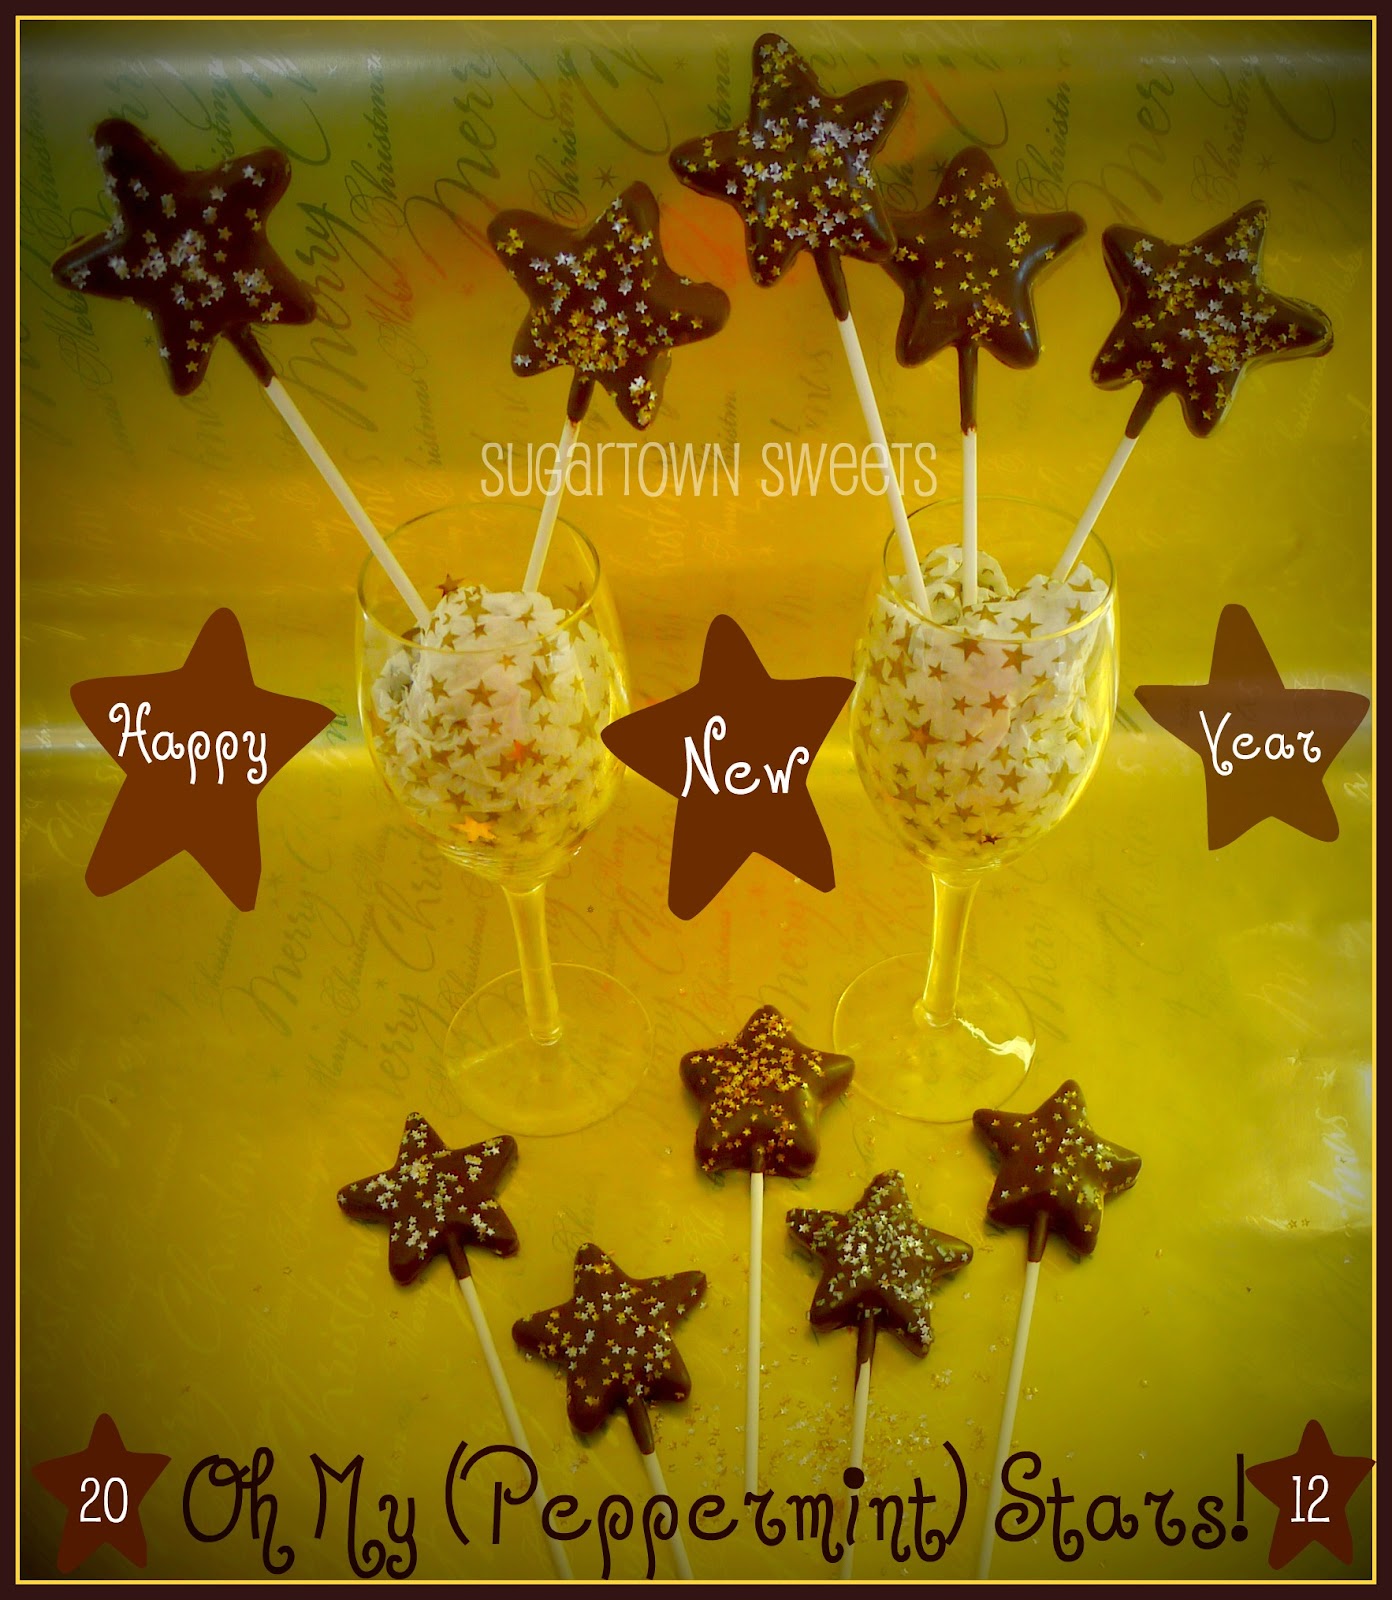
Saturday, December 31, 2011
Tuesday, December 20, 2011
Christmas Tree Cookies!

With Christmas only 5 (five!) days away, I finally made these trees!
I've been wanting to make them for a few weeks.
I've been wanting to make them for a few weeks.
I saw a popcorn can lid on the cover of a Stew Leonard's catalog with green Christmas trees and I knew I had give them a try. The funny thing is, these look nothing like those!
The
first thing I wanted to do was "go green", so I tinted my cookie dough.
Now I want to tint all my cookie dough! Let's see...blue ones for
winter ..red & pink for Valentines day...

I'm really liking this color.

Now I'm wanting an ice cream cone!

I just liked the way this photo of these cute cookie cutters turned out :o)

The Christmas Flour Tree

I like to roll enough dough out for only a couple of cookies at a time. I don't know why..it just works for me.

O Tannenbaum, O Tannenbaum..

Sometimes after I press the cutter into the dough...

I just peel off the outer layer.

Place your trees on a parchment paper lined cookie sheet.

Cooling on the racks..

I've got my GREENS!

You will need one bag filled with full strength royal icing for the outlines.

This is NOT the easy part for me. I don't have the steadiest hand. Hopefully with practice, I will get better!

Yay! This one turned out pretty good..after a few tries.

Let these dry for about an hour before you flood your cookies.

Add
a few drops of water at a time to the full strength royal icing until
you achieve a glue-like consistency. Let the fun begin!

I like to use the tip of a sharp knife to pop the little air bubbles that WILL rise to the surface.


I'm
sure I'm not the first one to ever do this but..I was flooding this
cookie when I noticed the pretty design ..so I decided to let it dry for
a few minutes. I then came back and flooded another section with a
lighter color green. I LOVE this idea! Sorry, I didn't take a follow up
photo. But keep scrolling, I used this method on a few cookies.

I also dropped some dots in some other dots while the icing was still wet.


 Just pull or drag the toothpick through each dot without lifting the toothpick.


I also dropped some dots in some other dots while the icing was still wet.

:o)

This
turned out to be one of my favorites!

I really like
these decorator bottles.

One
thing I learned today..make sure you keep the tips out of the icing and then check them
anyway. Notice the dark green icing streak in the light green? Yeah, I did
this a couple of times!

Love
this cookie!

On
this one, I did the two-tone method, then dropped dots and then used a toothpick to swirl them as
well.


The
little trees were quick to decorate..


The
finished pan!


Cookie Dough
3
cups all-purpose flour
2
tsp. baking powder
1/2
cup sugar
1/2
cup 10 x sugar
2
sticks salted butter (softened)
1
egg
1tsp.
vanilla extract
1/2
tsp almond extract
food
color (optional) I used Wilton leaf green
Combine
flour and baking powder in a separate bowl.
Cream
butter and sugars. Cover mixing bowl with a damp dish towel to keep the sugar
dust from escaping.
Add
egg and extracts mixing well.
Add flour mixture gradually till combined.
Chill
dough.
Bake @ 350 for 10-12 minutes.
Royal Icing
4
cups 10 x sugar
3
1/2 tablespoons meringue powder
6
tablespoons warm water
Mix
all ingredients on low for 7-10 minutes till stiff peaks form.
My
Christmas Tree Forest

Wishing
you all a Very Merry Christmas and Happy Baking from
Sugartown
Sweets!
I would love it if you left a comment!
I would love it if you left a comment!
Saturday, December 10, 2011
Marshmallow Christmas Ornaments!

It's time to make the Christmas Ornaments!
..and shop, and bake, and decorate...
So I wanted to create something cute & fun, but it also had to be easy. I love easy :o)
Mini candy canes, mini marshmallows, regular size marshmallows, white dipping chocolate & sprinkles are all you need.

I use Ghirardelli dipping chocolate, but candy melts (in any color or flavor) would also work just as well.

My marshmallows today are strawberry...yum!

I've always enjoyed playing with my food..especially candy.

Turn the regular size marshmallow on its side, then place the mini on top. Slowly press the tip of the candy cane into the mini and through almost to the bottom of the larger marshmallow.

And there you have it..so cute already!

getting ready to dip...

There are no pictures of the candy being dipped! I
was really into the process and FORGOT :o)
As I dip each ornament, I give it a few seconds to make sure the chocolate is finished dripping. Then gently place it on a wax lined pan to set.
was really into the process and FORGOT :o)
As I dip each ornament, I give it a few seconds to make sure the chocolate is finished dripping. Then gently place it on a wax lined pan to set.

I LOVE these Wilton sprinkles!

I crushed up a candy cane to decorate this one.


This would be fun with the kids too..

I took a LOT of pictures..

I really did!

Maybe too many?

Do you all take lots of pics too? ..or is it just me?!

These would also be cute as party table place cards.
Just pipe a name or initial on the dipped marshmallow.
Just pipe a name or initial on the dipped marshmallow.
Or as a cute small gift, place an ornament in a small cello bag and tie with a pretty ribbon.
Christmas is only two weeks away, but you still have plenty of time to make these :o)

Wishing you Christmas Joy
and Happy Creating
from
Sugartown Sweets!
Subscribe to:
Posts (Atom)