
Today we are crafting with one of my favorite mediums.. Peppermints!
I have had this giant peppermint stick in my candy drawer for over a year just waiting for his debut as an ornament tree!
My Peppermint Mittens, Stockings and Mini-Mug House are a few of the favorite melted candy crafts I've created here.
I hope you like this one!


 Pipe Royal Icing into the center opening of candy base. Press giant peppermint stick into icing.
 Making sure the peppermint stick is straight, use whatever you have in your kitchen to "prop it up".
I did not take this into account before I began my project which meant standing in the same spot for over 30 minutes all the while holding the stick straight! A little crazy..yes?
I let my tree stand overnight to make certain it was completely set.
 Time to attach the candy canes.
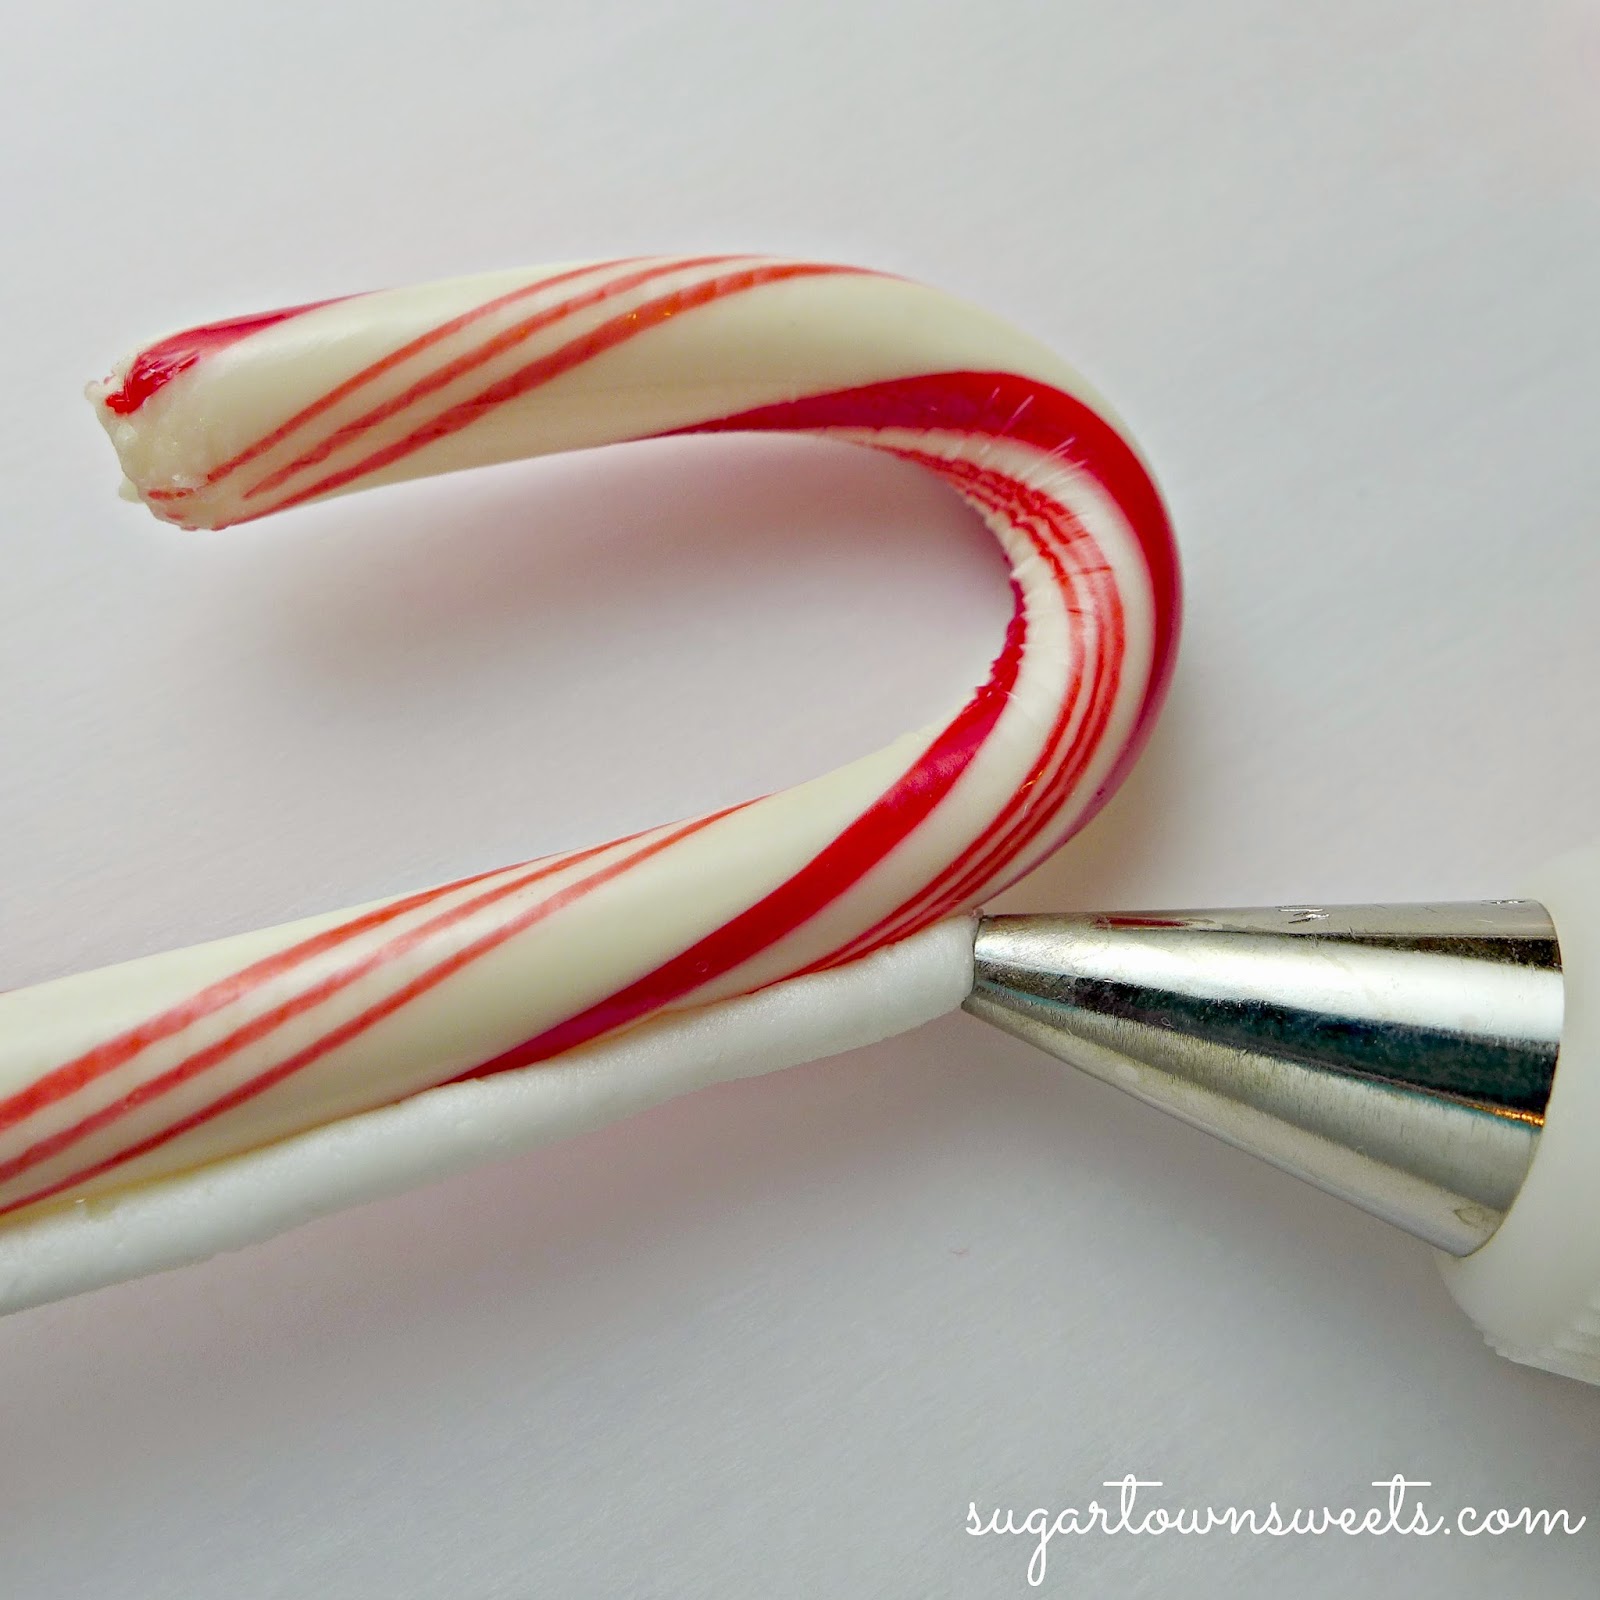
Pipe a straight line of Royal Icing onto the cane and press onto the "tree".
 Attach 4 each of the regular and mini size candy canes making sure to space evenly. I used a total of 8 pieces.
As we are using stiff Royal Icing, there was no need to "prop up" the candy canes.
 Using the same method as above, make a star topper. I used a 2 inch cutter.
 To make the little ornaments, I used fondant. I was hesitant to use cookies as I was worried they would have been too heavy. If you would prefer cookies, I believe they would be fine.


 Using the same method as with stockings, make the mittens.
 Pretty sparkly snowflakes!
 Let pieces dry/harden before using bakers twine to tie onto ornaments.


 Royal Icing
2 cups 10 x sugar
2 Tablespoons meringue powder
1 Tablespoon plus 3 teaspoons warm water
Mix all ingredients on low speed with electric mixer.
Spoon icing into a bag fitted with (I used a #7) tip.
To achieve the proper icing consistency, you may need to adjust the amount of water. You just need a stiff icing but not so stiff that you can't pipe it comfortably.
That's it!
Merry Christmas In July
From
Sugartown Sweets!
All Comments and New Members are Welcome!

I have had this giant peppermint stick in my candy drawer for over a year just waiting for his debut as an ornament tree!
My Peppermint Mittens, Stockings and Mini-Mug House are a few of the favorite melted candy crafts I've created here.
I hope you like this one!
Prepare all your cutters by spraying with no-stick cooking spray.
To make the base for our tree we will be using a 4 in. round cookie cutter. To make the hole in the center, I used one of my large decorator tips with a 1 in. diameter opening.
*Note: All cutters must be metal.
Place peppermint candies on parchment lined baking sheet and bake 10 minutes @ 325 degrees or until they have melted together but not so much that they have lost their shape.
Immediately and firmly, press cutters into candy.
At the 5 to 6 minute mark, it should have cooled just enough to gently twist cutter and lift off making sure cut is complete.
(if you wait too long, the candy will harden and only break as you try to remove from cutter)
Let cool.
I did not take this into account before I began my project which meant standing in the same spot for over 30 minutes all the while holding the stick straight! A little crazy..yes?
I let my tree stand overnight to make certain it was completely set.
Pipe a straight line of Royal Icing onto the cane and press onto the "tree".
As we are using stiff Royal Icing, there was no need to "prop up" the candy canes.
Roll out fondant. Dip cutter in 10 x sugar and cut out desired shapes.
I used my 12 piece Christmas mini-cutters set.
To make the stocking, I cut out a shape in each of the white and red colors.
Cut off the top of the white piece to make the trim. Attach with corn syrup.
I used a coffee stirrer to make the hole for the string.
I wanted a little sparkle on my ornaments. I'm using red disco dust and white pearl dust. Use a small paintbrush dipped in water to paint the surface you want decorated and sprinkle on the disco dust. To apply the pearl dust, dip a dry paintbrush in dust and brush it on.
2 cups 10 x sugar
2 Tablespoons meringue powder
1 Tablespoon plus 3 teaspoons warm water
Mix all ingredients on low speed with electric mixer.
Spoon icing into a bag fitted with (I used a #7) tip.
To achieve the proper icing consistency, you may need to adjust the amount of water. You just need a stiff icing but not so stiff that you can't pipe it comfortably.
That's it!
Merry Christmas In July
From
Sugartown Sweets!
All Comments and New Members are Welcome!
Magnifique BRAVO !!! très beau blog
ReplyDeleteMerci beaucoup Benedicte! :o)
Delete