Monday, October 31, 2016

Celebrating Five Years with DIY Candy Candles!

 Has it been 5 years already?! Yes it has!

Today, October 31st, marks my 5th Birthday in Bloggyland..Bloggingdom..the Blogosphere!

October is a celebration month in our family for sure. My son, grandson, brother, brother-in-law, and my niece, all share tenth month birthdays! So this week has seen me baking cupcakes and more cupcakes and tomorrow on request, I'll be making my yummy
Coca Cola Cake! 

Meanwhile, back at Sugartown Sweets, I wanted something unique to feature for this momentous birthday occasion. So I put on my sugar think cap. Aha! I remembered something cool I had seen on youtube. It was a tutorial on how to make edible chalk. Click here for that cool video by The Caking Girl! 

The idea struck me that these could be made with colored candy melts and turned into candles. All they needed was a wick. Hmmm..

One Twizzlers pull-n-peel candy package later and I was in business! I love the way they turned out.

We had so much fun with these at my son's birthday celebration, and the kiddos thought it was pretty cool to eat the candles right off the cake! Let me show you how to make your own!

But first, let me tell you about my special birthday surprise! 

It all started last Friday when the grandbabies and I were hanging out at the house. My phone rang and seeing that it was from New York, I assumed it was a junk call. I was not going to answer it but decided to go ahead anyway.. I then had my sweet 2 year-old grandbaby say hello for me..TWICE!

I heard the lady on the other end asking to speak to Karen. Still thinking it was just another one of "those" calls, I grudgingly said "speaking".

Then I heard this--> "Hi! My name is Allie and I'm calling from the Rachael Ray Show. Did you send us an email a while back?"  I'm stammering "No..but I think my sister Donna did."

From there it got kinda blurry 'cause I was kinda freaking out and all. But I got the part where she was asking me if I would shoot a video of me making a couple of my treats that they could use on the show!! Really?! Yes!!!

So I..well, my video, is going to be on the Rachael Ray Show in the near future! But don't blink or you might miss it. It will be very short, like 1 to 2 minutes.

I will post an update when they let me know the air-date if y'all want to see it (just know that my stomach was all tied up in knots and I was crazy nervous)!
**update** My video making my, "Turkey in the Straw Cupcakes", will air on the Rachael Ray show on Wednesday, November 9th!! 

And that's my story of my sweet birthday surprise!
To make our candy candles, we'll need:
-Smoothie straws (because they have a larger diameter)
-Twizzlers pull-n-peel candies
-candy melts
-chop sticks (to remove candy from straws)
Place candy melts inside candy decorating bags and microwave @ 50% power for one minute. Knead candy in bag and return to microwave. Melt candy at 50% power for 30 seconds kneading each time until candy is fully melted.
Don't be like me and get the candy too hot..'cause it WILL burn you! Ouch!
Cut the straws in half before you fill them.

Pour some sugar into a cup in which the candy straws will stand and set.

Snip off the end of candy bag and begin filling the straws. Make sure you fill it till candy comes out the other end. We don't want any air bubbles in our candles.
Smooth the tops of candy candles and place into your cup of sugar. Next, insert "wicks" and hold till set.

Let candles set till completely hardened. You can also pop them in the freezer for 10 minutes if you're in a hurry. I wasn't, so I didn't.

Trim the "wicks" on an angle.
 Ain't they purty?
 There will be some dried/hardened candy on the bottom ends of the candy sticks.
 Just gently scrape it off.
Now this, is the really fun part.

Using the thicker end of the chopstick, push candy from the bottom of straw while gently but firmly holding onto the straw.

Yes! There it goes!
And here you are! Colorful, fun candy candles all ready to go and help you celebrate the sweetest of life's occasions.
You all light up my life!

Have a sweet day, Karen

Friday, October 28, 2016

National Chocolate Day Marshmallow Pops


Happy National Chocolate Day!

There nothing quite so yummy as a chocolate covered marshmallow.

Unless..you add more chocolate!!!
I melted some Ghirardelli chocolate and stuck some marshmallows on sticks.

Them I dipped, dipped and dipped some more.
Let's coat these babies in some chocolate candy!
Total decadence..
You need more chocolate in your life!  :o)
Chocolate for breakfast? Yes!
My happy place..
If you're on a diet, I do apologize.   ;o)
 Have a Sweet Day, Karen

Saturday, October 15, 2016

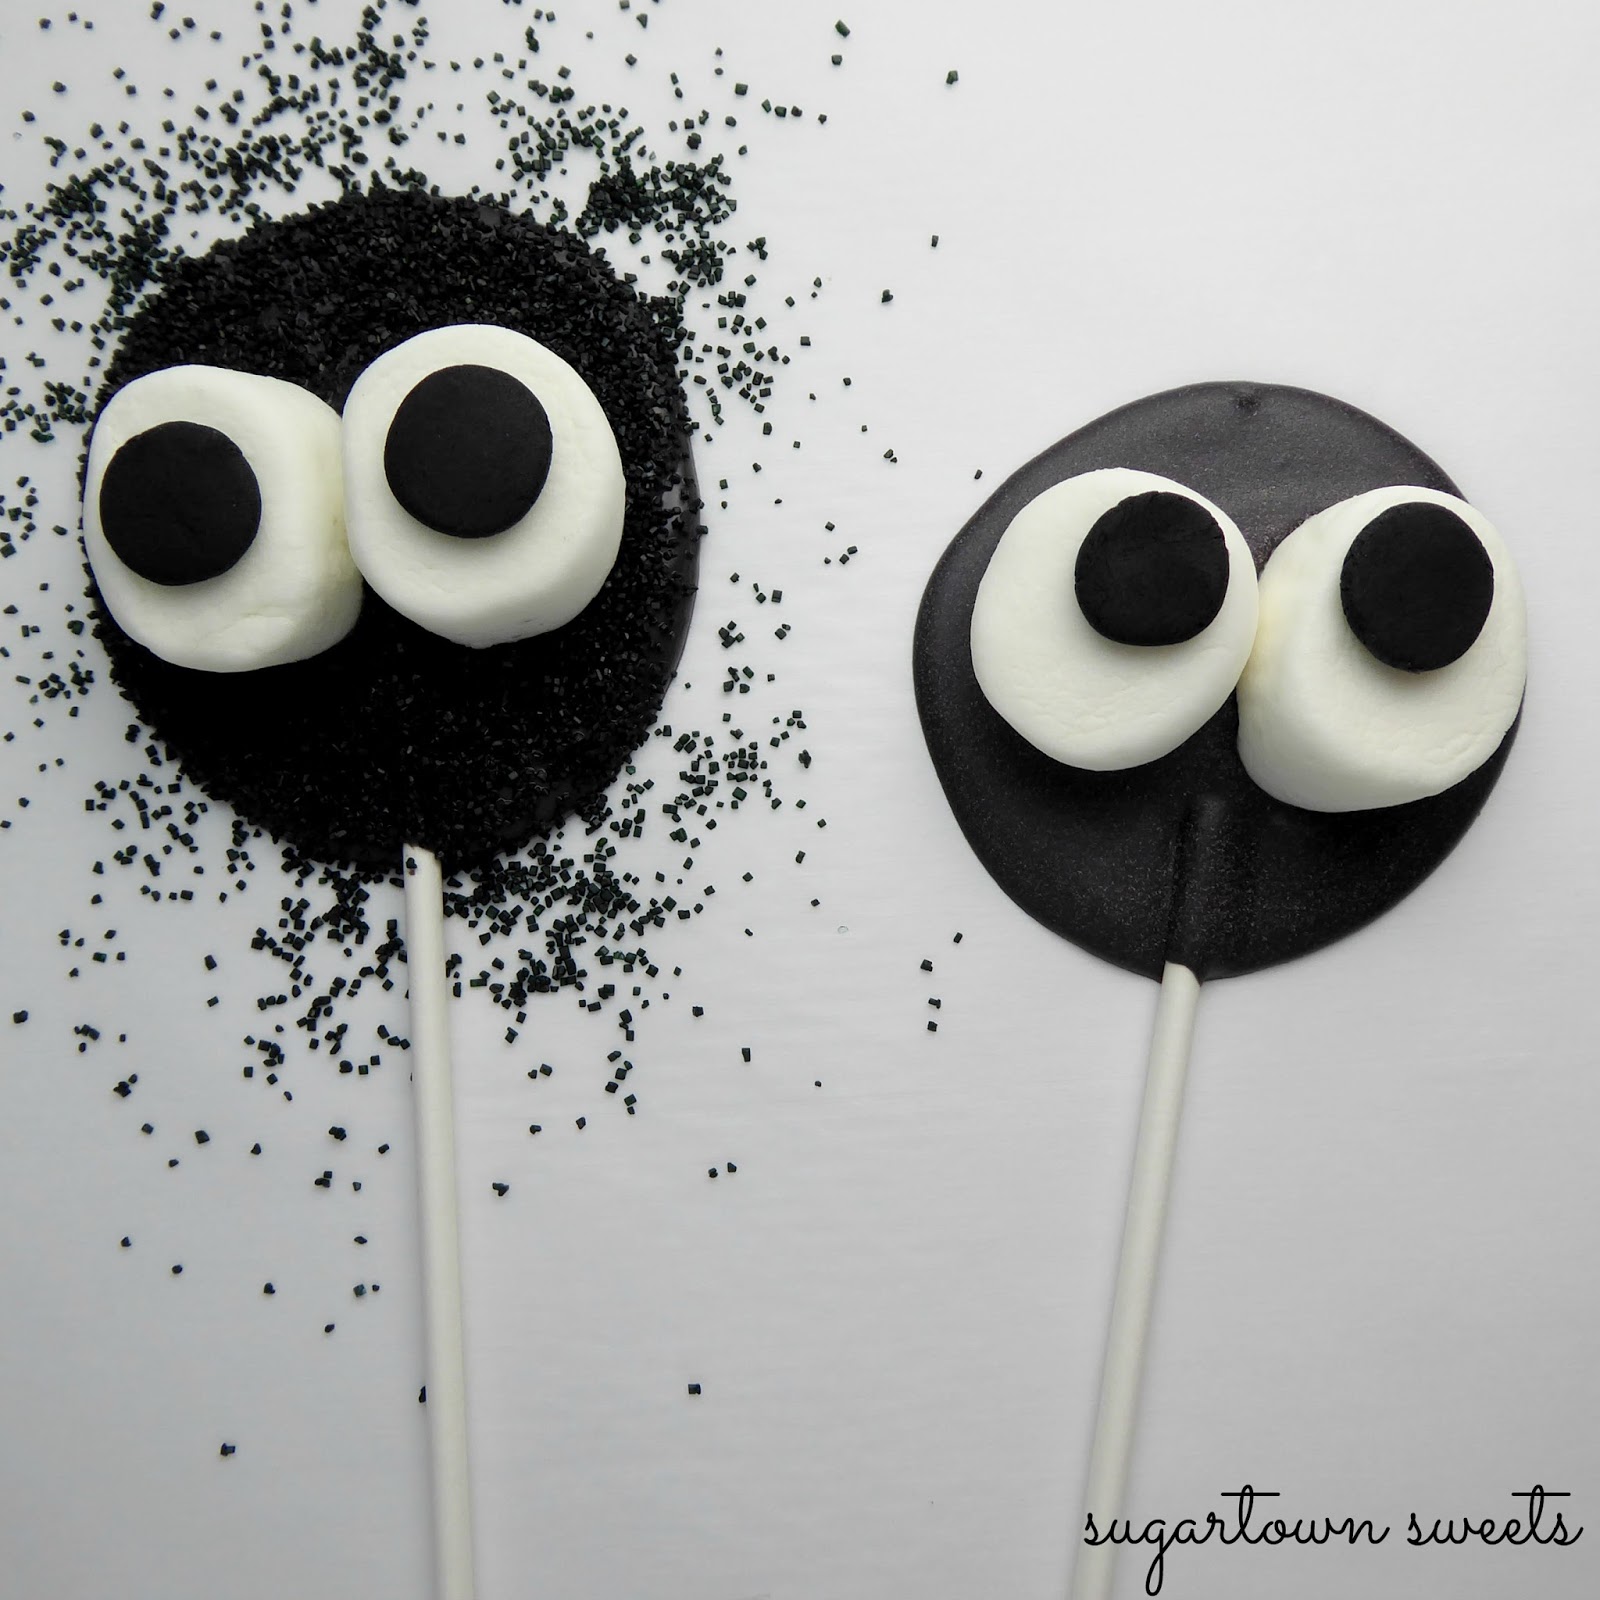
Googly Eyed Candy Pops

 These little g00gly eyed guys are simple to make and sweet to eat.
The perfect cooler weather and fall-time treat!
 "Eye" see you!
 You will need: marshmallows, black candy melts, black fondant, black sugar sprinkles (not pictured), and lollipop sticks.

I used a pair of food dedicated scissors to cut my marshmallows. If you don't have any, you can use a knife.
Wet your scissors or knife and cut through the middle of marshmallow.
You now have two eyeballs!

Roll fondant into balls and flatten to make the eye centers.
Melt candy melts according to directions on package. I used a cereal spoon and spooned a nice dollop of melted candy onto parchment paper. I then used the back of the spoon to swirl the candy into a circle.
 Insert lollipop stick and shake sprinkles to cover the candy pop.

Place the g00gly eyes onto pop with a dab of melted candy. Let set till candy hardens.
And remember..I'm watching you! hehehe!

Won't the kiddos just love these yummy and fun candy pops?!
Have a super sweet day, Karen   :o)

Tuesday, September 27, 2016

Pumpkin Patch Marshmallows


And so we bid summer farewell.

Fall has always been my favorite season, but i'm still always sad to see my warm summer/seashore season fade away.

Maybe these sweet little pumpkin patch treats will perk me up. I think they turned out kinda cute. See there? I'm already smiling!

Happy Fall Y'all!
To make your own easy pumpkin patch, you will need:
-S'moreMallows marshmallows
-Oreos (or any chocolate wafer type cookie)
-Dark cocoa and royal blue candy melts
-candy eyes
-star sprinkles
For the "dirt" crumbs, I crushed up some Oreo cookies after scraping off the creamy centers. 

So..I made myself a super yummy six layer stuffed cookie. Woohoo!
Melt blue candy over low heat on stove or follow directions on bag for microwave melting.

Dip top two thirds of marshmallow in blue melts. (I used a lollipop stick in my first one but found it easier to just hold the mallow and dip) 
Lay the mallow on parchment paper and place the pumpkins and stars. Attach the eyes to pumpkins with a lollipop stick (or something similar). Just dab on a tiny amount of melted candy to the backs and place onto the pumpkins. Let set till dry.
Now we can dip the bottom ends of marshmallow into the melted dark cocoa melts and then onto the crushed Oreos.
Insert a stick..or not. I think they're cuter on a stick!
How easy was that?

I think I'm all into Fall now!

So glad you dropped by.

Have a sweet day, Karen   :o)


Friday, September 16, 2016

Caramel Apple Trees

I am a huge caramel apple fan. I'm still over the moon that I can make homemade caramels and we had a blast last fall making our first dipped apple treats.

When I found out that Wilton had come out with Caramel Apple candy melts, I knew I had to make these trees. But oh boy did I have a hard time finding them in the store.

I should have asked hubby first because within minutes he'd found they were in stock at our local Jo-Ann's craft store. They had three bags. I bought them all!

These treats are cute to the core and yummy too!

Now let's have some sweet fun!
Items needed: Caramel Apple candy melts, Wilton branch treat sticks, S'moreMallows, red and light brown fondant and (not pictured) green sugar sprinkles and parchmant paper.
 I used my sweet pie top crust cutter to make my fondant apples. I bought mine several years ago at an apple barn in the mountains.
I went online to see if they're still available and yes, they are!
Click here or here to purchase one of these cuties!

Roll out the red and light brown fondant and press cutter into fondant. I used the tip end of a food paintbrush to gently coax the tiny apples from the cutter.
 Aren't these little apples just darling?!

I used my Wilton fondant cutter tool to cut the "caramel" apples. A sharp knife will will just as well.

Trim just the top off the light brown apples, dab a drop of water to the back and place on top of the red apples.

I'm in LOVE!
 Let apples set while you melt the melts!
You can follow directions on the candy melts bag or you can be daring like me and melt on the stove. 
I use a small saucepan over low heat, stirring occasionally till melted.
I found my Wilton tree branch sticks at Jo-Ann's store.

I was so excited to happen upon them in my search for the elusive candy melts.

Insert stick into marshmallow and dip into candy melts.
Immediately sprinkle on green sugar sprinkles and place on wax or parchment paper to set.

Wouldn't these be fun for a teacher's treat or your kid's lunchbox or a fall party?!
Dab a dot of melted candy to backs of apples and place on marshmallow trees. 

I have always wanted to say that! *wink*
Thanks so much for stopping by.

I love you a bushel and a peck!

Have a sweet day, Karen.  :o)