Showing posts with label Peppermint Crafts. Show all posts

Monday, July 25, 2016

Snow-Capped Peppermint Christmas Tree Lollipops


Joy of joys! It's time for my annual "Christmas in July" craft!

Actually, I haven't had time for many crafts this summer, 'cause I've been biz, biz, busy.
You know, family time, celebrating birthdays, enjoying vacations, VBS...all the wonderfulness that makes up Life!

But, I knew this sweet treat had to happen, even though I have made the peppermint trees before.
A few years ago I made them a little bigger and added tree decorations.

I'm liking these smaller pops with the snow and berries and you'll like how quick and easy these are to put together.

Merry Christmas (in July)!
 You will need:peppermint candies, white chocolate, Christmas sprinkles (I used berries), lollipop sticks.

Tools needed:Parchment paper lined baking sheet.
 Preheat oven to 275 degrees. Place candies on lined pan and bake for 8-10 minutes or just until candies begin to melt and stick together. Insert lollipop stick. Cool completely.

Melt white chocolate (or candy melts) and dip the top of lollipop. Hold lollipop straight up and allow chocolate to drip down a little. Gently scrape excess chocolate from the back of the pop on the edge of cup and place on clean parchment paper. Apply sprinkles.
 Let candy set to harden.

Peppermint and chocolate, one of the great flavor combos made cute!
 Thanks for stopping by!

Have a sweet day, Karen   :o)
 Sugartown Sweets

Saturday, September 19, 2015

Zombie Eyeball Lollipops


Zombie Eyeball Pops..Bloodshot Eyeballs Lollipops..whatever you call them, they're Gross! Kinda like the Zombies themselves.

Speaking of Zombies..are you a "Walking Dead" fan? I probably would have been when I was younger..but I just can't handle the gross factor!

Let me take you back to 2012.
"The Walking Dead" had already been filming in Senoia for quite some time. Soo.. 
My hubby and I had spent the evening with family at his sister's house, and as we were heading home we passed through the town's center. I saw that "The Walking Dead" was filming and I wanted to stop and watch along with a few others that had already gathered.

At that time, we had never even seen the show. It was just kinda neat to see them filming. Then several people crossed the ropes and were walking through our little crowd.
I had no idea they were the stars of the show, but it didn't take me long to figure it out as they began chatting with the fans and generously taking photos with everyone.

So just for fun I asked my hubby to take a shot of me with one of them. I later found out the actor's name was Norman Reedus. (I googled the cast when we got home.) He, along with the others were really just super nice, spending several minutes with us all.

Well, I thought it would be interesting to watch one of the shows to see what it was all about, plus see the town and landmarks that we knew and loved. But, I just did not have the stomach for it. Ewww!  Although, I do have the eyes for it! Zombie Eyes that is!

You can see the "Walker Stalkers" in the small town on any given day. But, meeting one of the stars might not be as easy as it once was. As we were leaving my in-laws from a family Labor Day weekend cook-out, filming was taking place behind the huge walls they erected last year. We saw several signs stating that due to safety reasons, the cast has been asked not to stop for photos, etc.    


*Disclaimer* 
These photos were taken on my cell phone.
I know the quality..or lack therof..is terrible!


Ok..now back to our pops.
I was 'eyeballing' my peppermint candies, when it hit me right between the eyes! These would make perfect bloodshot eyeballs.

Let's make some.

~Peppermints
~Large Candy Eyeballs
~Lollipop Sticks
~Food Color Pens

Using your pens, color the whites of the eyeballs.

*if you don't have food color pens, just mix a little food color with water and use a paintbrush to apply color*
Place peppermint candy on a parchment lined baking sheet and bake for approximately 6 minutes.
Remove from oven, insert lollipop stick and gently press in colored eyeball. 
These are pretty gross looking, but on the bright side these will freshen even the worst zombie breath! *wink*

I made a couple without coloring the eyes.
I like these too!
We could even call them "Eye Candy" but that's totally up to you!

Thanks for dropping by, Karen

Friday, July 3, 2015

Fireworks Pops for the Fourth of July and a Patriotic Peppermint Flag!


 3-2-1..Happy 4th of July!

And as quickly as you can do that countdown, you can make these super easy peppermint crafts!

With a baking time of six minutes and then pressing in the sprinkles, you can make these pops in less than 10!

The flag pops take just a couple extra minutes..and look at how cute they are.

I love the 4th. Fireworks, Family and The Star Spangled Banner.

GOD BLESS AMERICA!
 These colors just POP!
To make the fireworks pops, you only need these items pictured and parchment paper for your baking sheet.
 Place peppermints on baking sheet as shown below.
 Bake..
 Then...
 I love how these really do look like fireworks..and you can eat 'em! How sweet is that!
I used the same items for my flag pops with the addition of ready made blue fondant.
 Place candies as shown below. Bake @ 325 for 5-6 minutes. Insert lollipop stick. Let cool.
I just rolled out and cut a small piece of fondant. I attached two stars with a dab of water.
 I did the same for the fondant.

..oh say does that Star Spangled Banner yet wave, 
O're the land of the free, and the home of the brave!
Wishing You All a Fun and Festive 4th
from
Sugartown Sweets!

Thanks for stopping by!
Comments and new members keep my life sweet!  :)

Tuesday, December 23, 2014

Ugly Christmas Sweater Ornaments Using Melted Peppermints!

 We are 2 days out from Christmas, but I thought you might have time to squeeze in a couple more peppermint ornaments.

Ugly Christmas Sweater Ornaments!
Just in time for your Ugly Christmas Sweater Party..well..maybe!

These are super simple to make, because we are using store-bought, ready-made cupcake toppers!

You might remember the Peppermint Stockings I made a couple of years ago.
Or maybe the Peppermint Mittens or Peppermint Mini Mug Gingerbread House. If you want a super easy and quick craft with no time for cutters, here are my Peppermint Christmas Tree Lollipops!

Christmas begins with Christ and I love our family's tradition of reading the Christmas Story on Christmas Eve night.
Luke 2:11 "For unto you is born this day in the city of David a Saviour, which is Christ the Lord....."

Wishing you all a very Blessed Christmas!
 My brother's family had ugly Christmas sweater photos made last year for their annual Christmas card! 
It was adorable and ugly all at the same time. 
I have a whole year to plan ours!
 I am using both red and green for my ornaments.
 I found all my cupcake toppers at Michaels and Walmart.
 Christmasy green..
 and Christmasy red..
 In addition to the toppers, I used a variety of sprinkles. Also, not pictured, I used red Disco Dust and attached all decorations with corn syrup.
Ahh, so lovely! You can get your own top quality sweater cutter here at Copper Gifts.
Liberally spray cookie cutter and #10 decorating tip with cooking spray.
Heat oven to 325 degrees. You will melt peppermints for about 10 minutes.
Place candies on parchment lined baking pan. I like to stagger my candies just as you would with bricks. 
The finished look is so pretty.
I determine the placement of and how many candies I need by the size and shape of my cutter.
Bake at 325 degrees for 10 minutes or until they look as pictured in photo.
Immediately upon removing from oven, firmly press cookie cutter and decorating tip into melted candy. 
Wait 3-4 minutes, (be careful as this is still fairly warm) and press cutters completely through. Break off the outer candies and remove cutters. Lay back down onto pan and let cool.
So many decorating possibilities with these cuties..oops, uglies!
Attach candies with corn syrup or royal icing.
I am so loving this elfie sweater!
Let's make a red one..
Now this is what I'm talkin' about! 
UGLY!

I painted on some corn syrup and sprinkled on red Disco Dust for the cuffs and collar.
LOVE!
 Hey Santa!
 Wouldn't you love to have these little guys hanging around!
That's it!

MERRY CHRISTMAS FROM
SUGARTOWN SWEETS!

New Members and Comments are Awesome!

Thanks for stopping by.  :o)

Friday, July 25, 2014

Christmas In July~Peppermint Ornament Tree

Merry Christmas In July!

Today we are crafting with one of my favorite mediums.. Peppermints!

I have had this giant peppermint stick in my candy drawer for over a year just waiting for his debut as an ornament tree!

My Peppermint MittensStockings and Mini-Mug House are a few of the favorite melted candy crafts I've created here.
I hope you like this one!
Prepare all your cutters by spraying with no-stick cooking spray.

To make the base for our tree we will be using a 4 in. round cookie cutter. To make the hole in the center, I used one of my large decorator tips with a 1 in. diameter opening.

*Note: All cutters must be metal.
Place peppermint candies on parchment lined baking sheet and bake 10 minutes @ 325 degrees or until they have melted together but not so much that they have lost their shape.

Immediately and firmly, press cutters into candy.

At the 5 to 6 minute mark, it should have cooled just enough to gently twist cutter and lift off making sure cut is complete.
(if you wait too long, the candy will harden and only break as you try to remove from cutter)

Let cool.
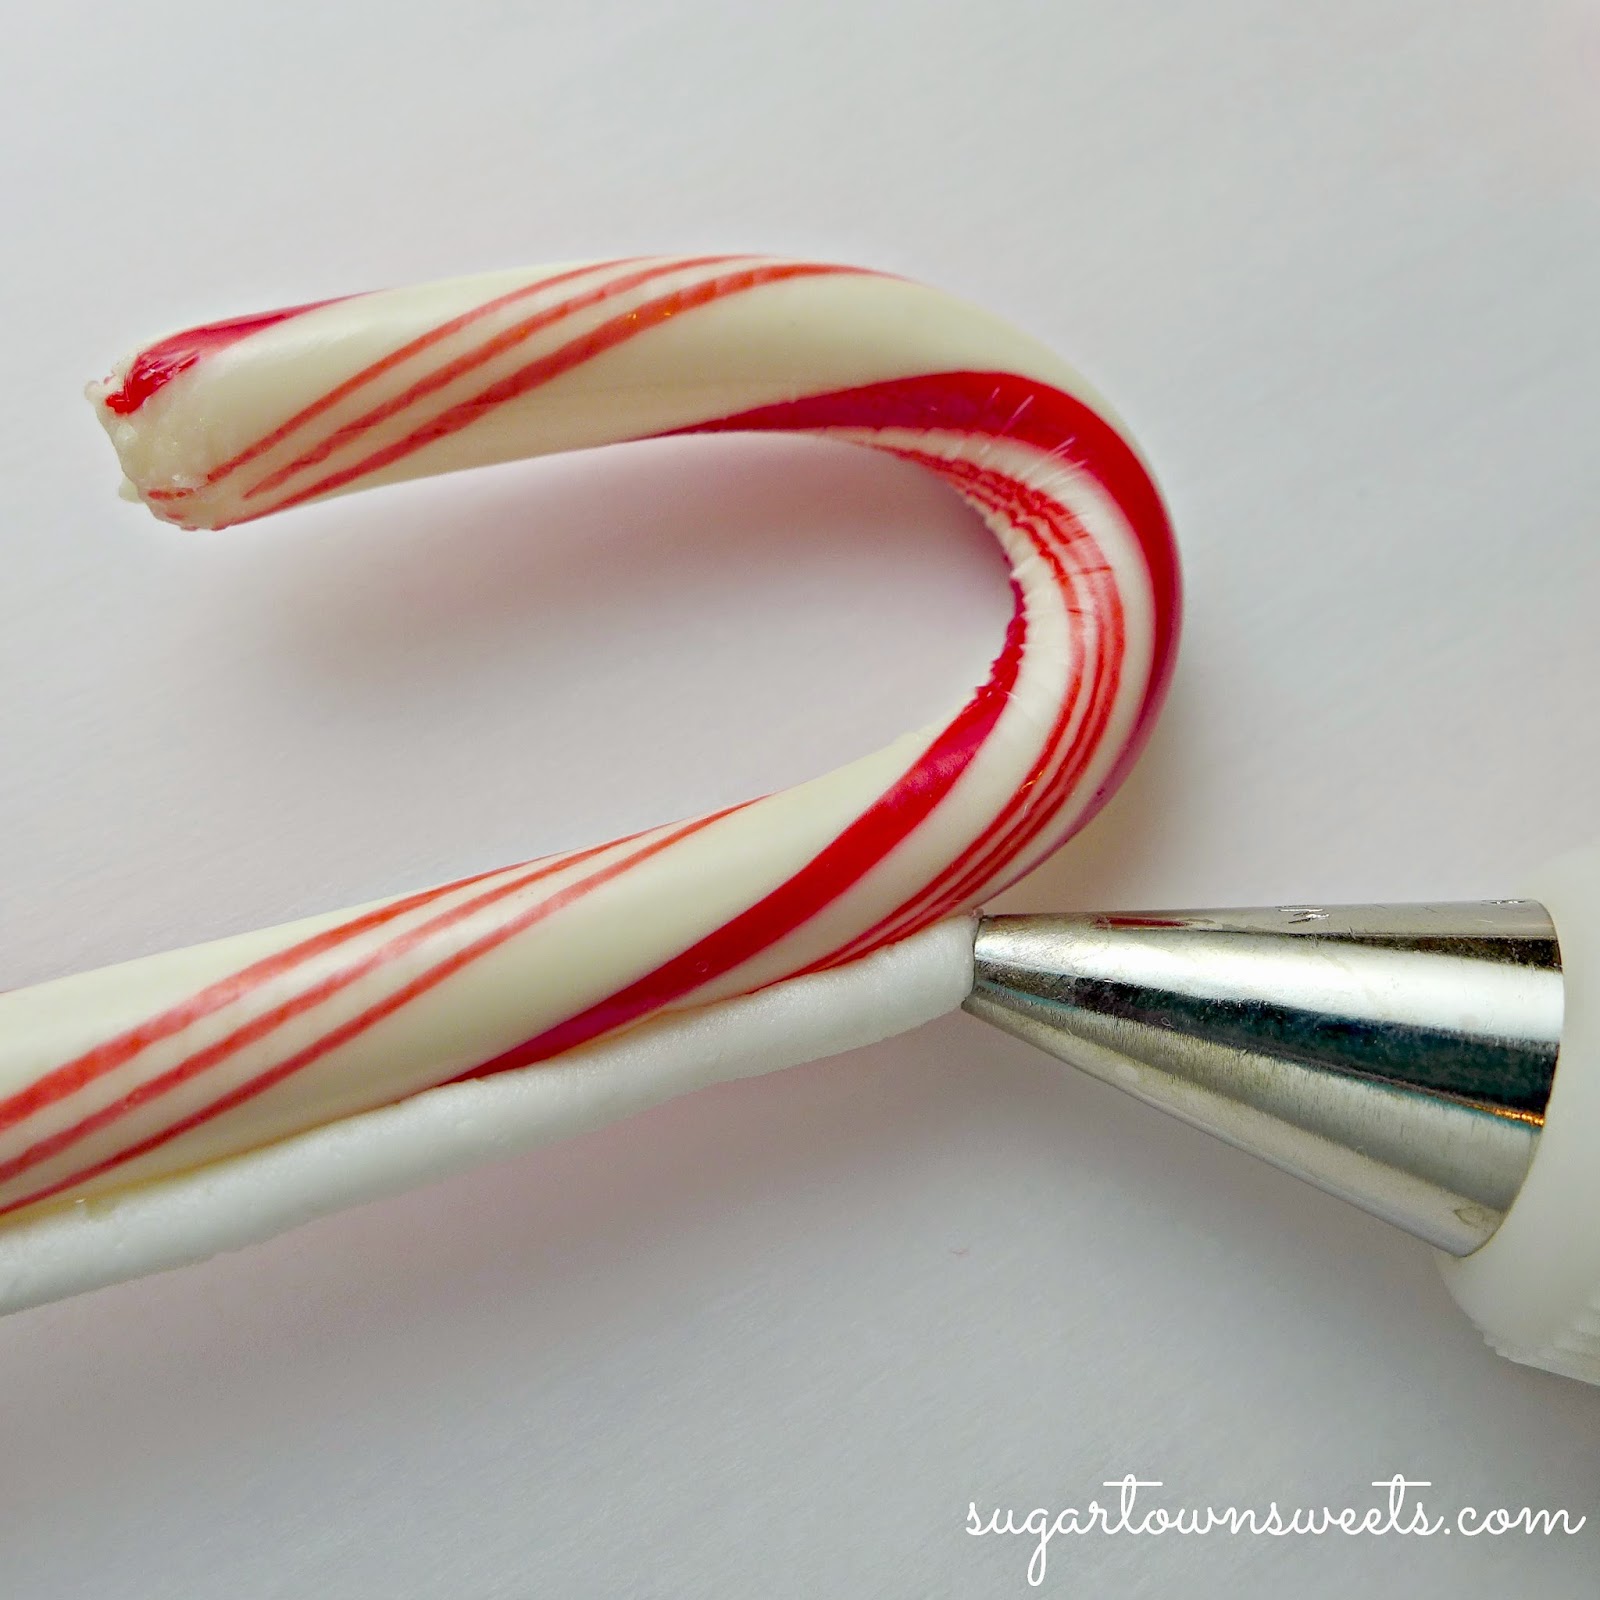
Pipe Royal Icing into the center opening of candy base. Press giant peppermint stick into icing.
Making sure the peppermint stick is straight, use whatever you have in your kitchen to "prop it up". 

I did not take this into account before I began my project which meant standing in the same spot for over 30 minutes all the while holding the stick straight! A little crazy..yes?

I let my tree stand overnight to make certain it was completely set.
Time to attach the candy canes.

Pipe a straight line of Royal Icing onto the cane and press onto the "tree".
Attach 4 each of the regular and mini size candy canes making sure to space evenly. I used a total of 8 pieces.

As we are using stiff Royal Icing, there was no need to "prop up" the candy canes. 
Using the same method as above, make a star topper. I used a 2 inch cutter.
To make the little ornaments, I used fondant. I was hesitant to use cookies as I was worried they would have been too heavy. If you would prefer cookies, I believe they would be fine.
Roll out fondant. Dip cutter in 10 x sugar and cut out desired shapes. 
I used my 12 piece Christmas mini-cutters set.
To make the stocking, I cut out a shape in each of the white and red colors.

Cut off the top of the white piece to make the trim. Attach with corn syrup.

I used a coffee stirrer to make the hole for the string.

I wanted a little sparkle on my ornaments. I'm using red disco dust and white pearl dust. Use a small paintbrush dipped in water to paint the surface you want decorated and sprinkle on the disco dust. To apply the pearl dust, dip a dry paintbrush in dust and brush it on.
Using the same method as with stockings, make the mittens.
Pretty sparkly snowflakes!
Let pieces dry/harden before using bakers twine to tie onto ornaments.


 Royal Icing

2 cups 10 x sugar
2 Tablespoons meringue powder
1 Tablespoon plus 3 teaspoons warm water

Mix all ingredients on low speed with electric mixer.

Spoon icing into a bag fitted with (I used a #7) tip.

To achieve the proper icing consistency, you may need to adjust the amount of water. You just need a stiff icing but not so stiff that you can't pipe it comfortably.

That's it!

Merry Christmas In July
From
Sugartown Sweets!

All Comments and New Members are Welcome!